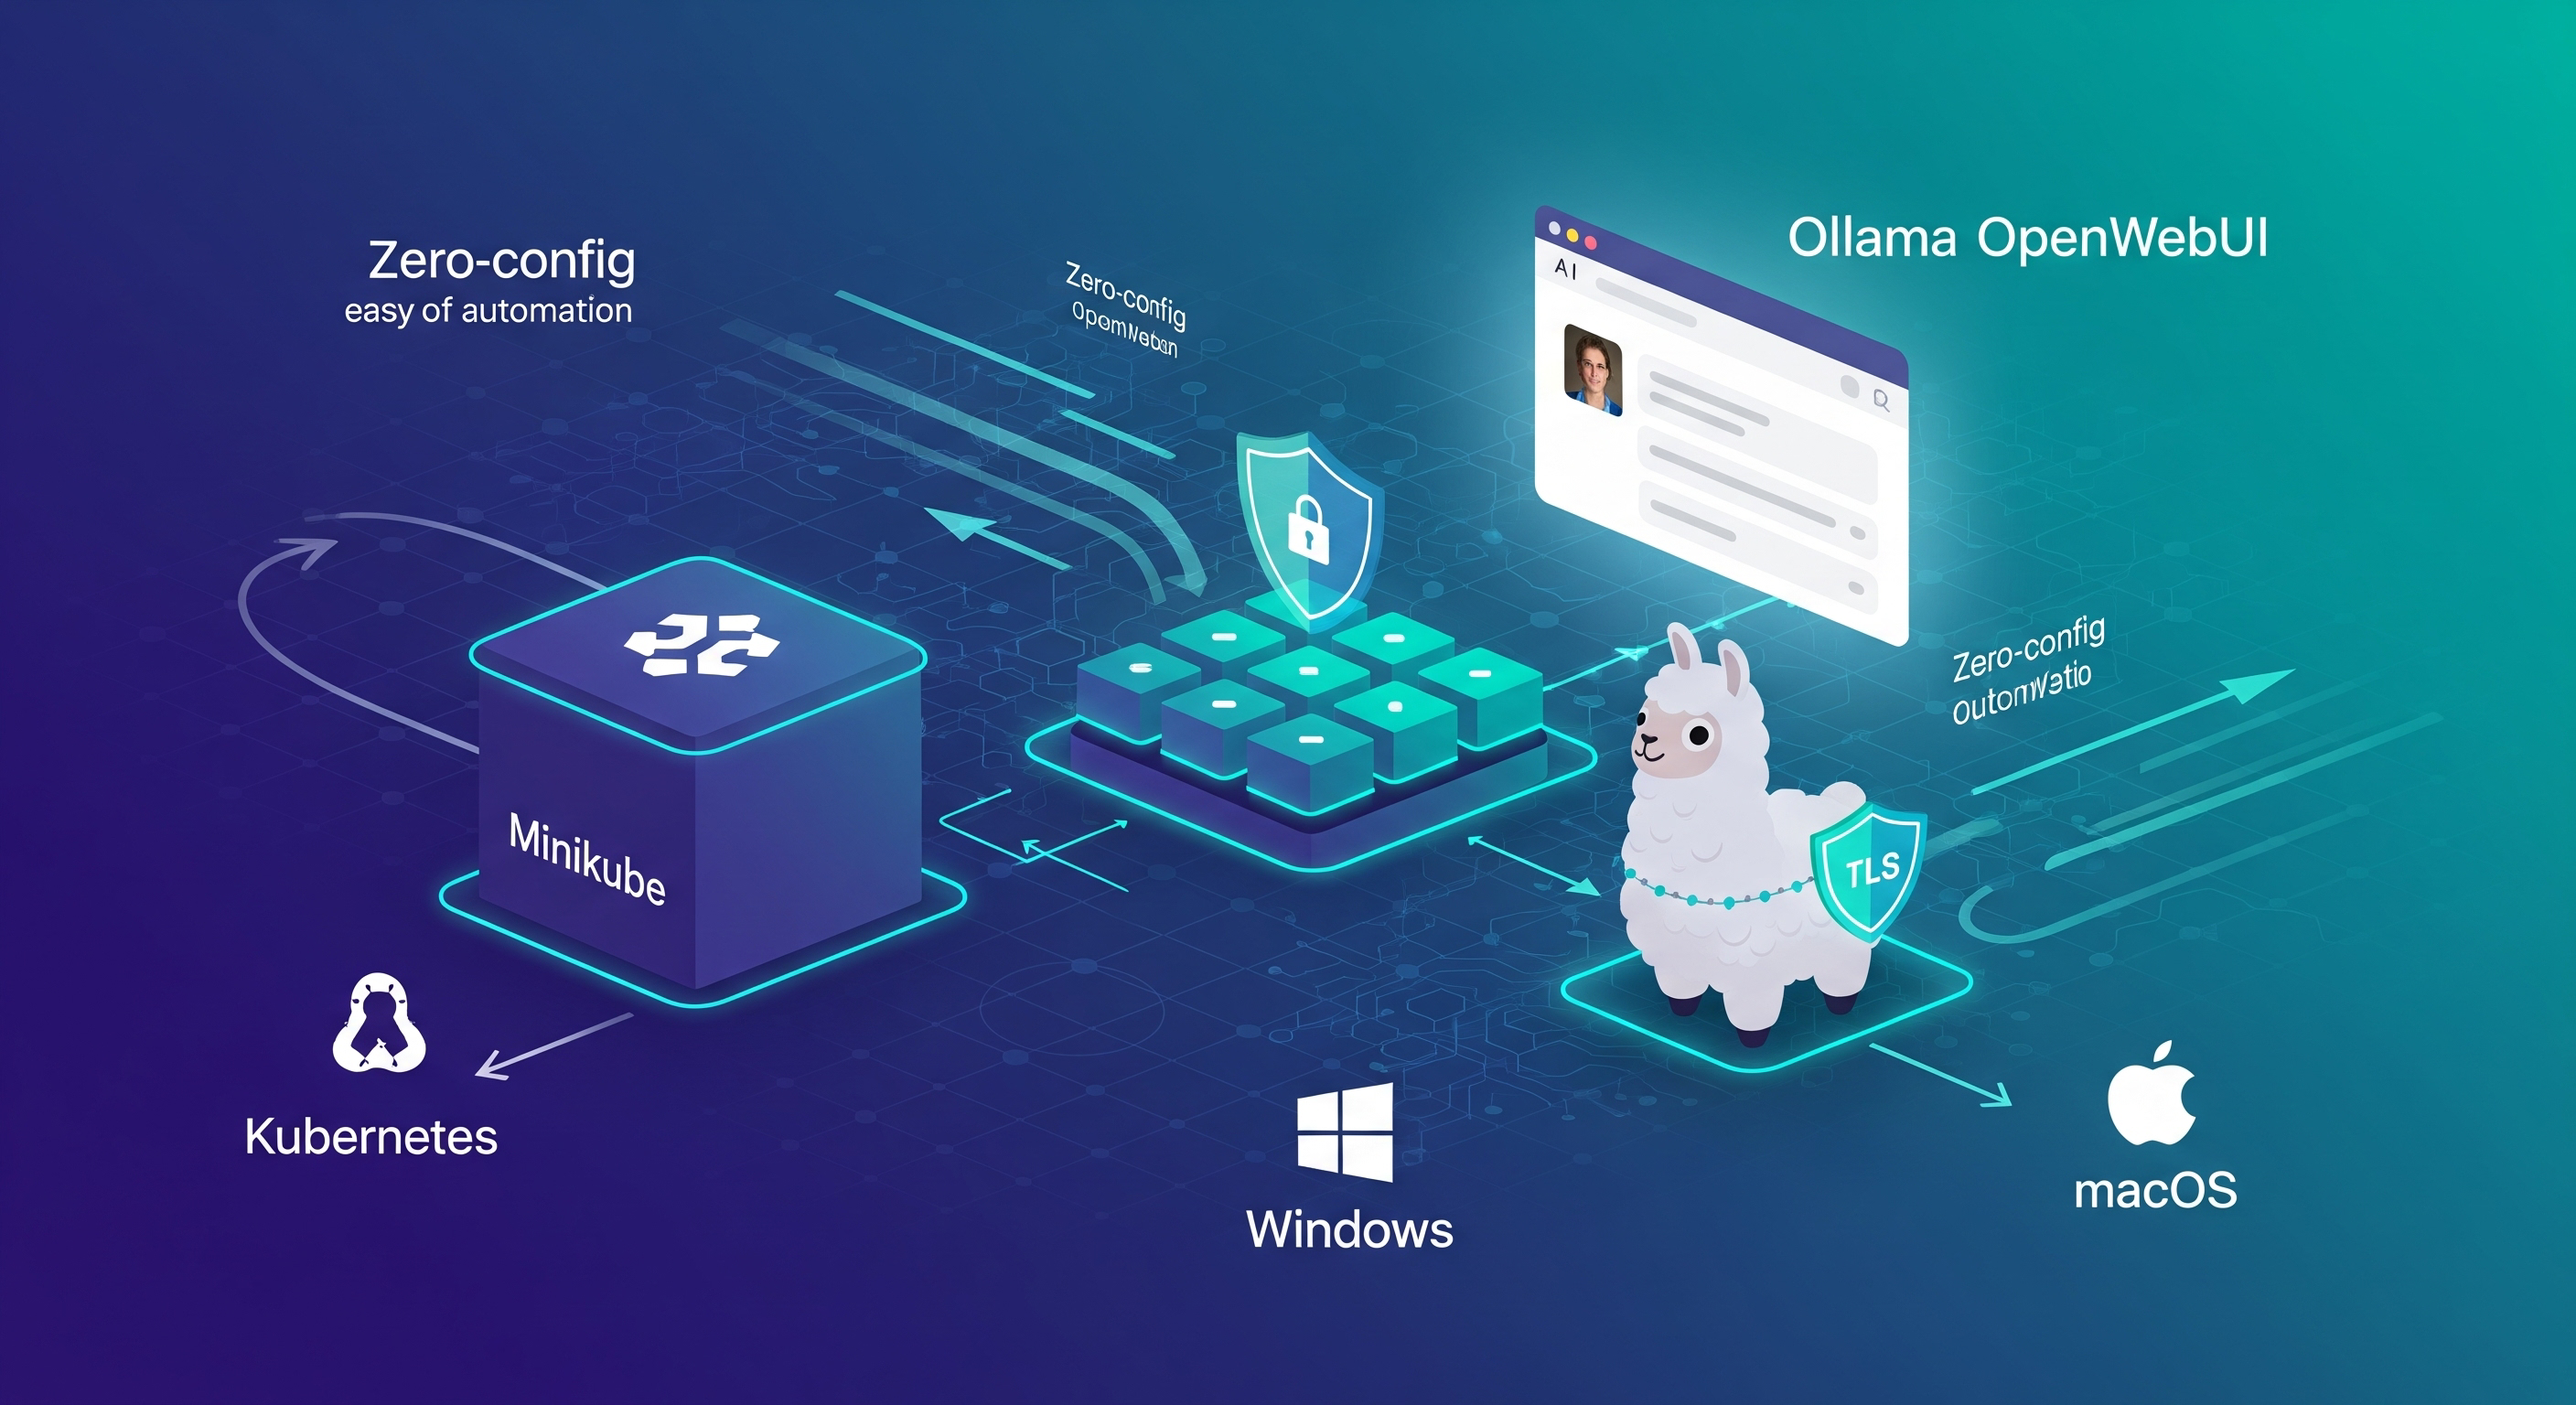
This image is a conceptual representation and does not reflect the exact service architecture of Ollama and OpenWebUI on Minikube.
🔄 TL;DR Link to heading
Skip the pain of complex AI deployments and GPU requirements. Use Minikube + Ollama + OpenWebUI to get a complete local LLM stack with HTTPS in one command - works on any machine with or without GPU.
Running large language models (LLMs) locally has never been easier. What if I told you that you could deploy a complete AI stack with Ollama and OpenWebUI on Kubernetes with just one command? There are no complex configurations or manual setup steps - just pure automation.
This project lets you deploy Ollama and OpenWebUI on Minikube with a single command. It works on Linux, macOS, and Windows1, with or without GPU2 support, and includes:
- 🔐 HTTPS via mkcert and cert-manager
- 🧠 Internal LLM inference via Ollama
- 🖥️ Beautiful web UI via OpenWebUI
- ⚙️ Optional GPU acceleration with CUDA/NVIDIA (only on Linux)
- 📦 Fully scripted deployment with a
Makefile
💡 Why Run LLMs Locally? Link to heading
Before diving into the technical details, let’s talk about why you’d want to run AI models locally instead of using cloud services:
- ✅ Privacy & Control: Your sensitive data never leaves your machine. This is crucial for businesses handling confidential information or developers working on proprietary projects.
- ✅ Zero subscription fees: No monthly subscription fees or pay-per-token costs. Once you have the hardware, your AI inference is free.
- ✅ Performance: Lower latency compared to API calls to cloud services, significant for real-time applications.
- ✅ Customization: Full control over model selection, fine-tuning, and configuration without platform limitations.
- ✅ Cross-Platform Compatibility: Works on Linux, macOS, and Windows.
- ✅ GPU Optional: Automatically detects GPU availability and falls back to CPU-only mode when needed.
- ✅ Learning: Perfect for understanding how AI systems work under the hood and experimenting with different models.
The Challenge with Local AI Deployment Link to heading
- Setting up a local AI stack traditionally involves multiple steps:
- Configuring GPU drivers and CUDA (if available)
- Setting up container runtimes
- Managing networking and ingress
- Handling SSL certificates
- Coordinating multiple services
- Platform-specific configurations
This complexity often deters developers from experimenting with local AI deployments. That’s precisely the problem I wanted to solve.
⚡️ Cross-Platform and GPU-Optional Link to heading
When I first created this project, it was primarily focused on Linux systems with NVIDIA GPUs. However, I’ve evolved the solution to be more universal:
- Cross-Platform Support: The deployment now works seamlessly on Linux, macOS, and Windows. The automation detects the platform and configures everything accordingly.
- NVIDIA GPU Detection: Don’t have a GPU? No problem! The system automatically detects NVIDIA GPU2 availability in the Minikube and gracefully falls back to CPU-only mode. This means you can run AI models on any modern machine, from high-end workstations to modest laptops.
- Intelligent Configuration: The Makefile and deployment scripts now include detection logic that adapts to your specific environment, eliminating the need for manual configuration changes.
🚀 Introducing Zero-Config LLM Deployment Link to heading
My solution provides a single command that handles everything automatically:
make
That’s it. This one command:
- Starts Minikube with GPU support (if available)
- Configures ingress and networking
- Sets up SSL certificates
- Deploys Ollama for model serving
- Deploys OpenWebUI for the web interface
- Verifies the installation
What You Get Out of the Box Link to heading
The deployment includes:
- Ollama: A powerful tool for running LLMs locally with GPU acceleration support. It handles model management and inference, providing a clean API.
- OpenWebUI: A beautiful, ChatGPT-like web interface that connects to Ollama. It offers features such as conversation history, model switching, and file uploads.
- Kubernetes Infrastructure: Everything runs on Minikube, giving you an environment that’s easy to manage and scale.
- Security: Automatic TLS certificate generation using cert-manager and mkcert for secure HTTPS connections.
- Networking: Proper ingress configuration with a clever DNS solution using traefik.me for automatic hostname resolution.
⚙️ Quick Start Guide Link to heading
Here’s how to get started:
Prerequisites Link to heading
You’ll need these core tools installed:
- Minikube
- kubectl
- Helm
- mkcert
Optional on Linux for GPU acceleration (automatically detected):
- NVIDIA Container Toolkit
- CUDA Toolkit and drivers
The beauty of the updated solution is that it works regardless of whether you have a high-end GPU setup or a regular laptop. The system detects your capabilities and configures itself accordingly.
One-Command Deployment Link to heading
Clone the repository and run:
git clone https://github.com/loncarales/minikube-ollama-lab.git
cd minikube-ollama-lab
make
Accessing Your AI Stack Link to heading
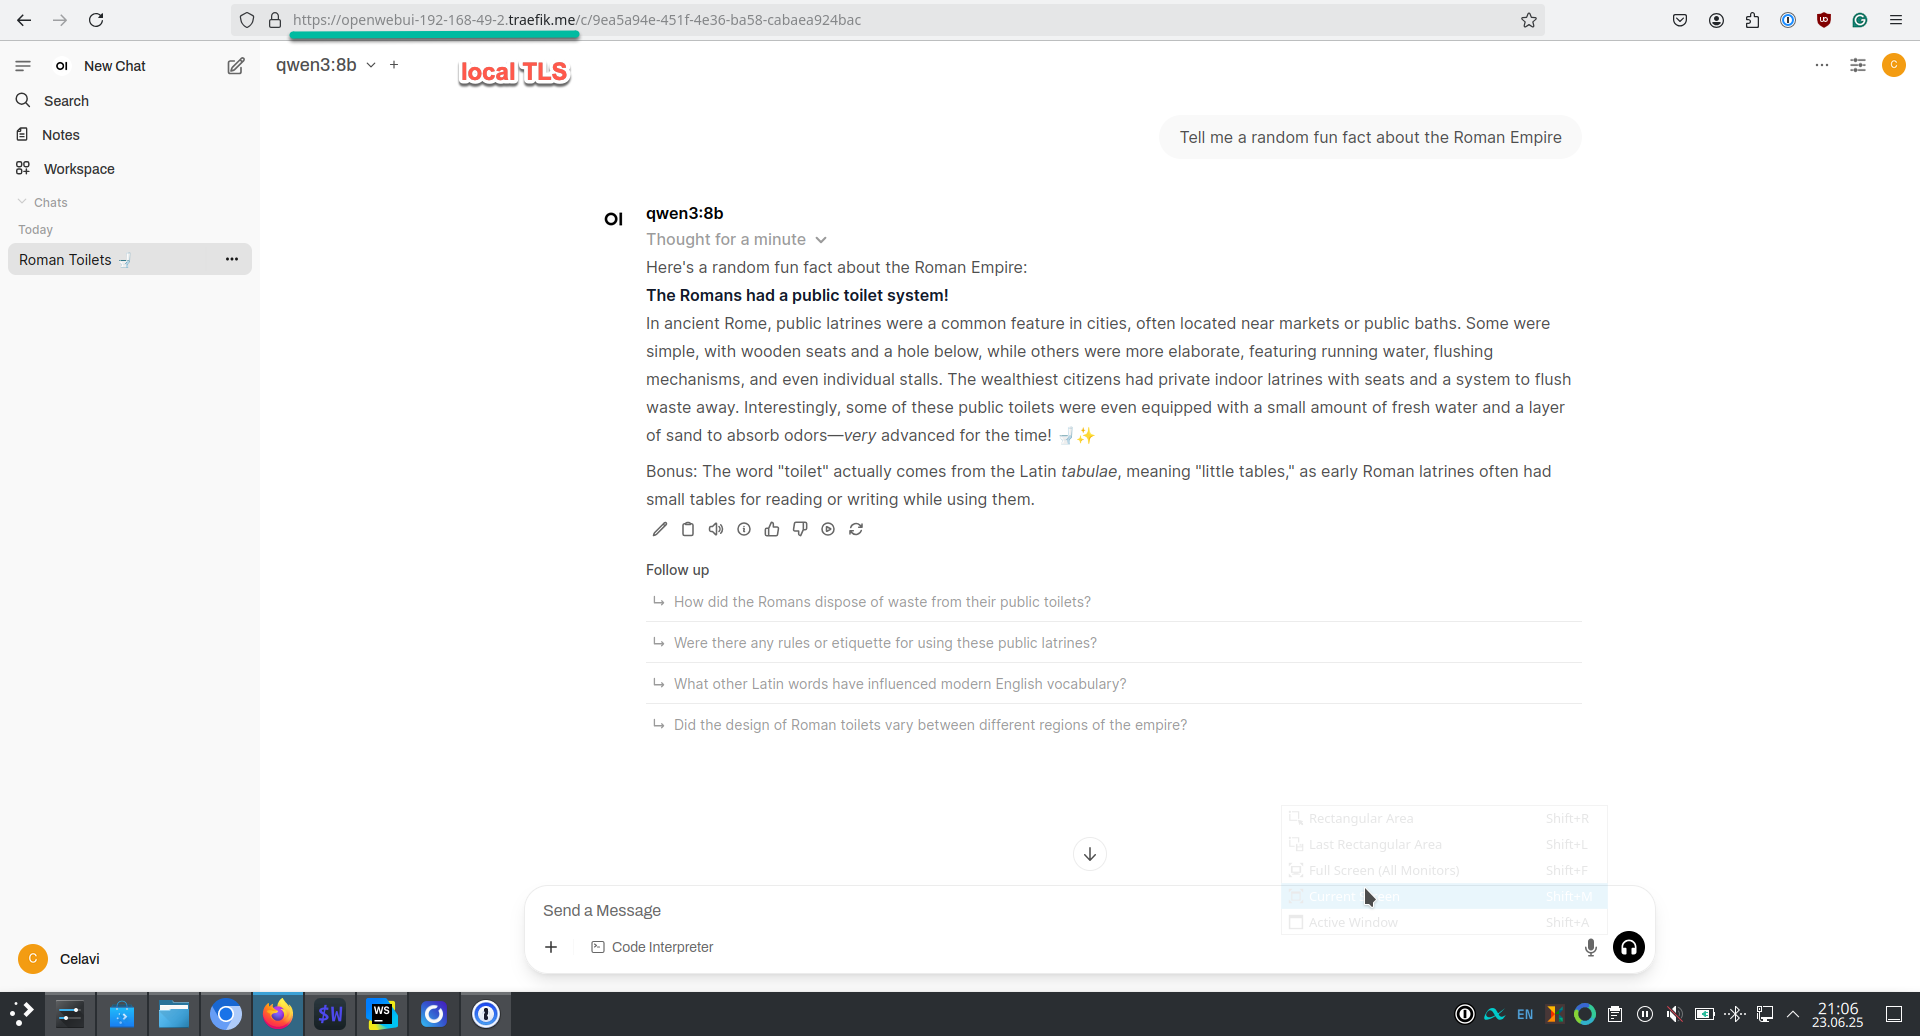
Web UI via OpenWebUI (with proper local TLS setup)
Once deployed, open your browser and navigate to:
# On Linux: When Minikube IP is 192.168.49.2
https://openwebui-192-168-49-2.traefik.me

# On macOS and Windows via
# minikube tunnel (must be running in a shell)
https://openwebui-127-0-0-1.traefik.me
The hostname automatically resolves to your configured IP using the free traefik.me wildcard DNS service – no /etc/hosts editing required!
🔌 Technical Deep Dive Link to heading
GPU Acceleration (When Available) Link to heading
The setup includes GPU detection and configuration. If you have compatible NVIDIA hardware, it automatically configures GPU passthrough for containers, enabling faster model inference. If not, it seamlessly falls back to CPU-only mode.
You can verify GPU access (if available) with:
kubectl exec -it -n ollama $(kubectl get pods -n ollama -l app.kubernetes.io/name=ollama -o name) -- nvidia-smi
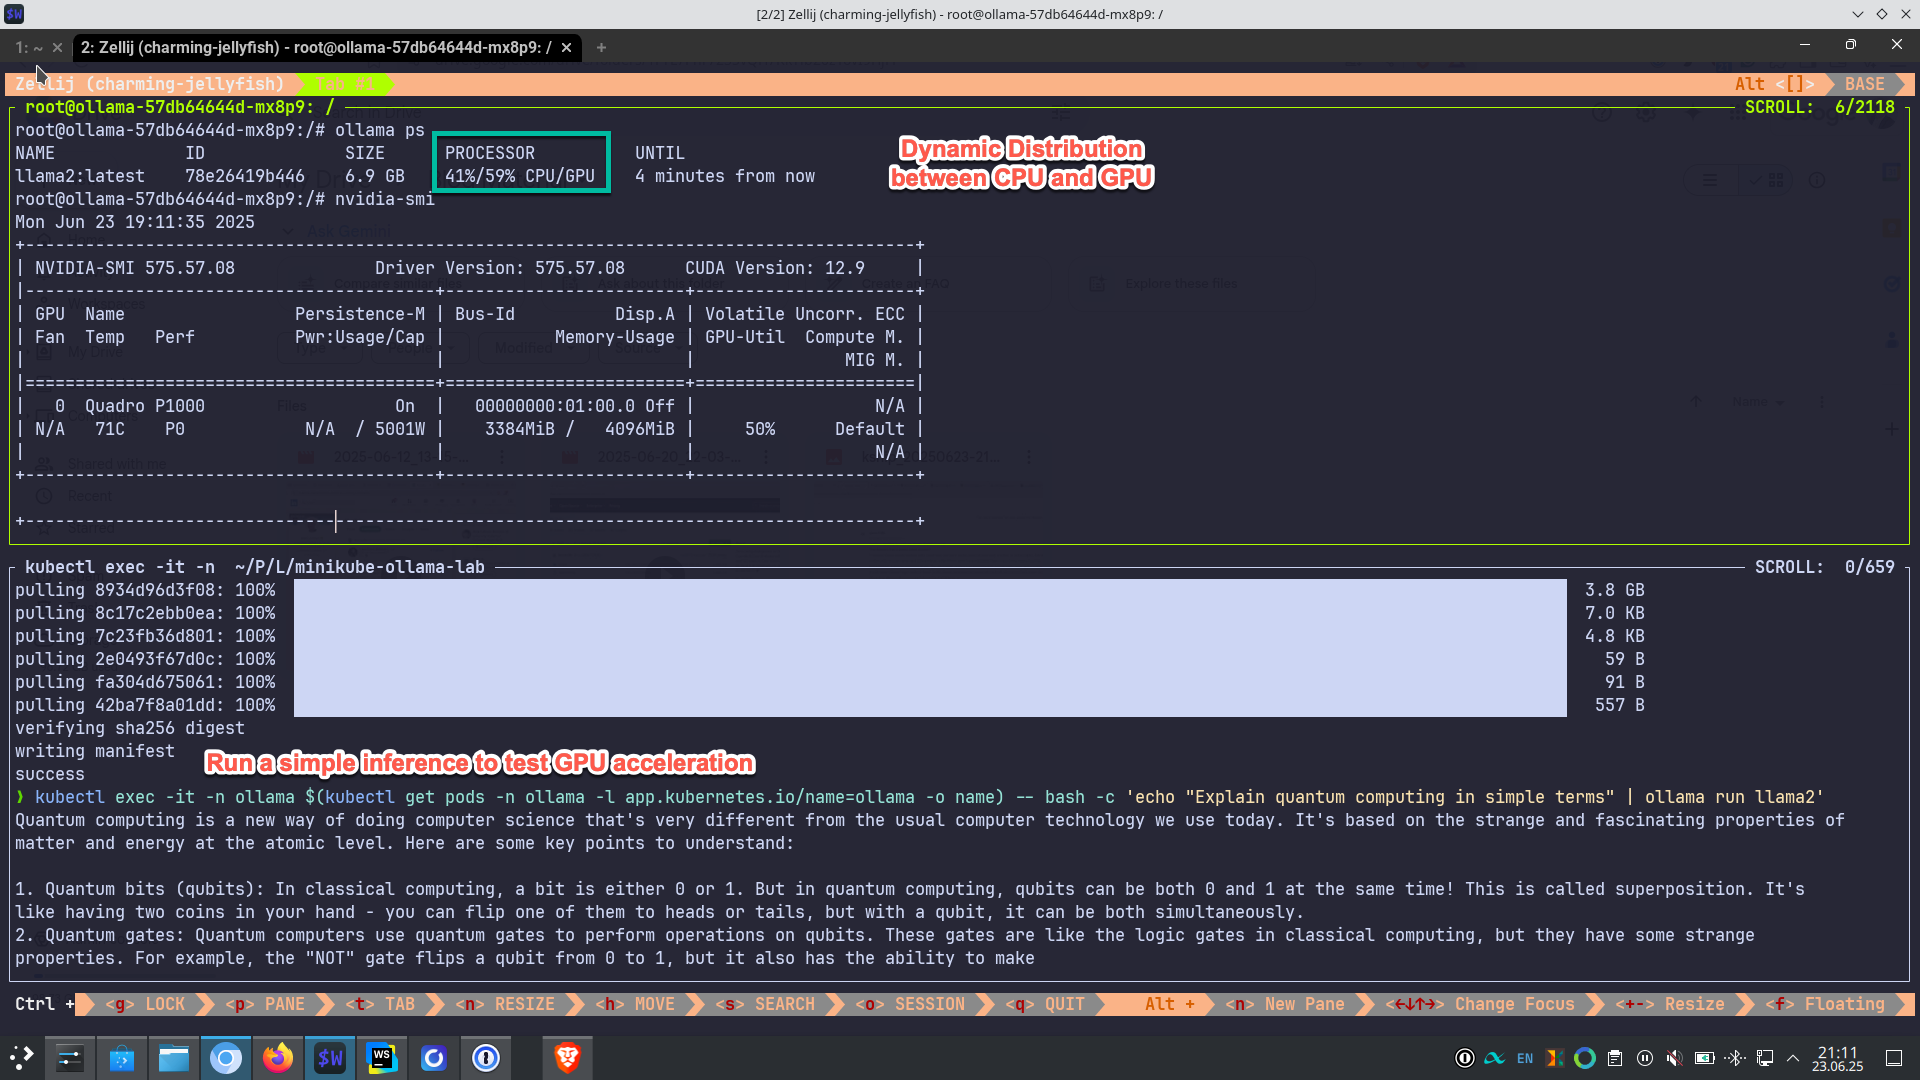
Dynamic distribution between CPU/GPU
Run a quick inference:
# Pull a CUDA-compatible model
kubectl exec -it -n ollama $(kubectl get pods -n ollama -l app.kubernetes.io/name=ollama -o name) -- ollama pull llama2

# Run a simple inference to test GPU acceleration
kubectl exec -it -n ollama $(kubectl get pods -n ollama -l app.kubernetes.io/name=ollama -o name) -- bash -c 'echo "Explain quantum computing in simple terms" | ollama run llama2'
Monitor GPU usage live (if available) with:
# In a separate terminal, run:
kubectl exec -it -n ollama $(kubectl get pods -n ollama -l app.kubernetes.io/name=ollama -o name) -- watch -n 0.5 nvidia-smi
For CPU-only deployments, the models will still run efficiently, just with longer inference times.
Customization Options Link to heading
You can customize the deployment with environment variables:
# Example with custom resource allocation
MINIKUBE_MEMORY=8192m MINIKUBE_CPUS=2 make
🌍 Real-World Usage Scenarios Link to heading
This setup is perfect for:
- Development & Testing: Quickly spin up AI environments for testing applications that integrate with LLMs, regardless of your hardware setup.
- Learning & Experimentation: Try different models and configurations without incurring cloud costs, making it perfect for students and researchers with varying hardware capabilities.
- Private AI Applications: Build applications that require data privacy and don’t want to rely on external APIs, accessible to developers across different platforms.
- Prototyping: Rapid prototyping of AI-powered features before moving to production, lowering the barrier to entry.
- Cross-Platform Development: Develop AI applications that work consistently across Linux, macOS, and Windows environments.
- Research: Academic research requiring control over the AI inference pipeline is now accessible to researchers without specialized hardware.
🏎️ Performance Considerations Link to heading
To get the best performance:
- Allocate sufficient memory (16GB+ recommended, but 8GB works for smaller models)
- Use multiple CPU cores (4+ recommended)
- If available, ensure your GPU has adequate VRAM for your chosen models
- Consider NVMe storage for faster model loading
- For CPU-only setups, choose models appropriate for your available RAM
🩺 Troubleshooting Common Issues Link to heading
The project includes comprehensive troubleshooting documentation, but here are the most common issues:
- Pods Stuck in Pending: Usually indicates insufficient resources. Increase Minikube’s memory and CPU allocation.
- GPU Not Detected: Only relevant if you expected GPU acceleration. Verify NVIDIA Container Toolkit installation and Docker runtime configuration. Remember, CPU-only mode is perfectly functional for most use cases.
- Ingress Issues: Check that the ingress controller is running and verify your Minikube IP address (on Linux).
🧪 Try It Yourself Link to heading
The complete project is available on GitHub, licensed under the MIT license. Whether you’re a seasoned DevOps engineer or just getting started with AI, and regardless of whether you have a powerful GPU or just a regular laptop, this zero-config approach removes barriers. It lets you focus on what matters: building amazing AI applications. The future of AI development is local, private, accessible, and under your control. With tools like this, there’s never been a better time to start experimenting with local LLM deployments, no matter what hardware you have.
📚 Resources Link to heading
- Project Repository
- Ollama Documentation
- OpenWebUI GitHub
- Minikube Documentation
- Kubernetes Documentation
Have you tried running LLMs locally? What challenges have you faced? Share your experiences in the comments below, and don’t forget to start the repository if you find it useful! And remember, contributions earn you karma. 😜
I did not test the scripts on Windows. They should work out of the box once all prerequisites are installed. ↩︎
Using NVIDIA GPUs with minikube is only supported on Linux. ↩︎ ↩︎