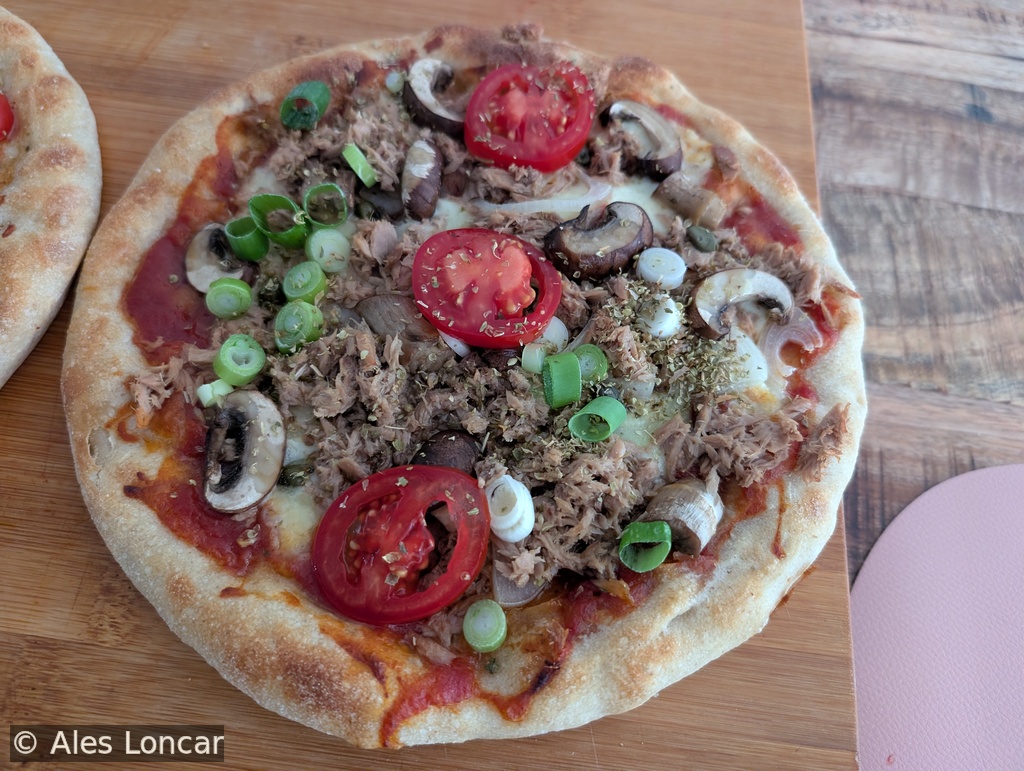
The ultimate reward of wild yeast. 🍕 Homemade sourdough pizza topped with tuna, fresh tomatoes, mushrooms, and spring onions. That slow-fermented crust is light, crispy, and incredibly easy on the stomach.
Before diving into sourdough baking, you need a living starter.
While my main culture is about 10 years old, warm summer days make it easy to start a fresh, active culture in just six days. All you need is flour, water, time, and a bit of patience.
Starting a culture from scratch works best with flour that is rich in minerals and wild microorganisms. Freshly ground whole wheat or whole rye flour is ideal for the first days.
A clear glass screw-top jar, around 360–400 ml, is also very useful because it allows you to track growth, bubbles, and air pockets as the starter develops.
What You Need Link to heading
- Flour: freshly ground whole wheat flour or rye flour for starting
- Water: room temperature or slightly lukewarm
- Jar: a clean 360–400 ml glass jar with a loose-fitting lid
For regular maintenance later, you can switch to standard bread flour such as Type 500 or Type 850.
Day-by-Day Starter Schedule Link to heading
Day 1: The Initial Mix Link to heading
Mix 20 g flour and 20 g water in your glass jar until no dry flour remains.
Cover loosely and leave it in a warm spot on the counter.
Stir it twice during the day.
Tip: If liquid forms on top early on, it means bacteria are active. Simply pour off the liquid and move the jar to a slightly cooler spot.
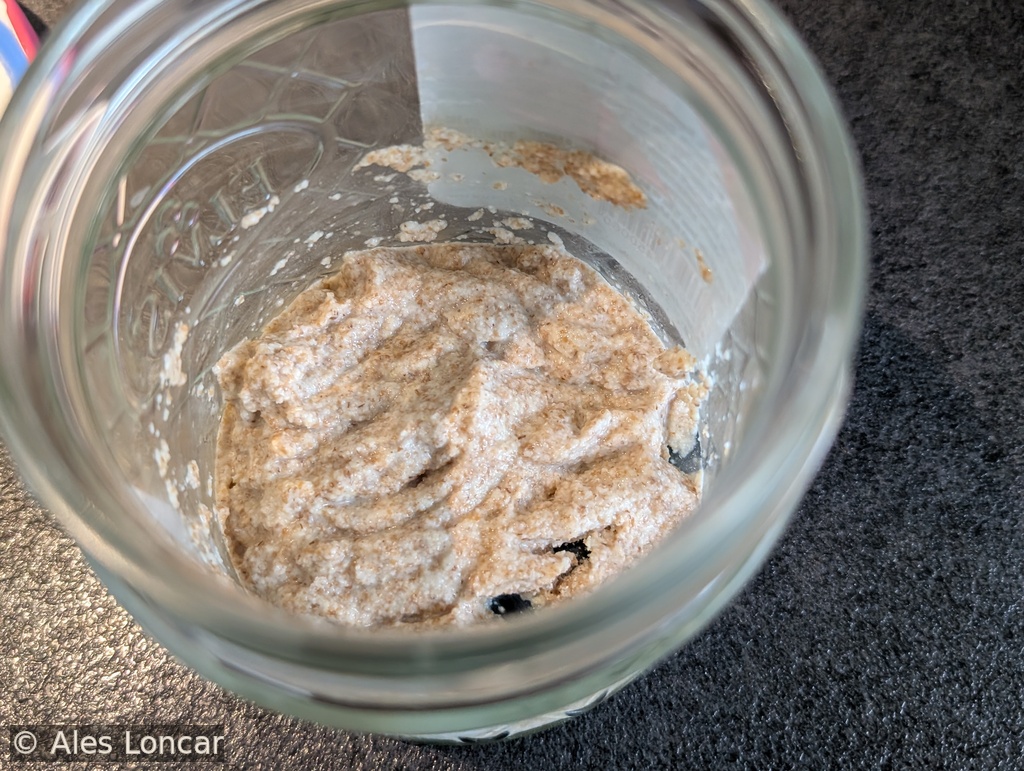
Day 1: Freshly ground whole wheat flour mixed with water. The journey begins.
Day 2: Feeding Link to heading
Add 20 g flour and 20 g water.
Stir thoroughly to combine.
Stir gently twice during the day.
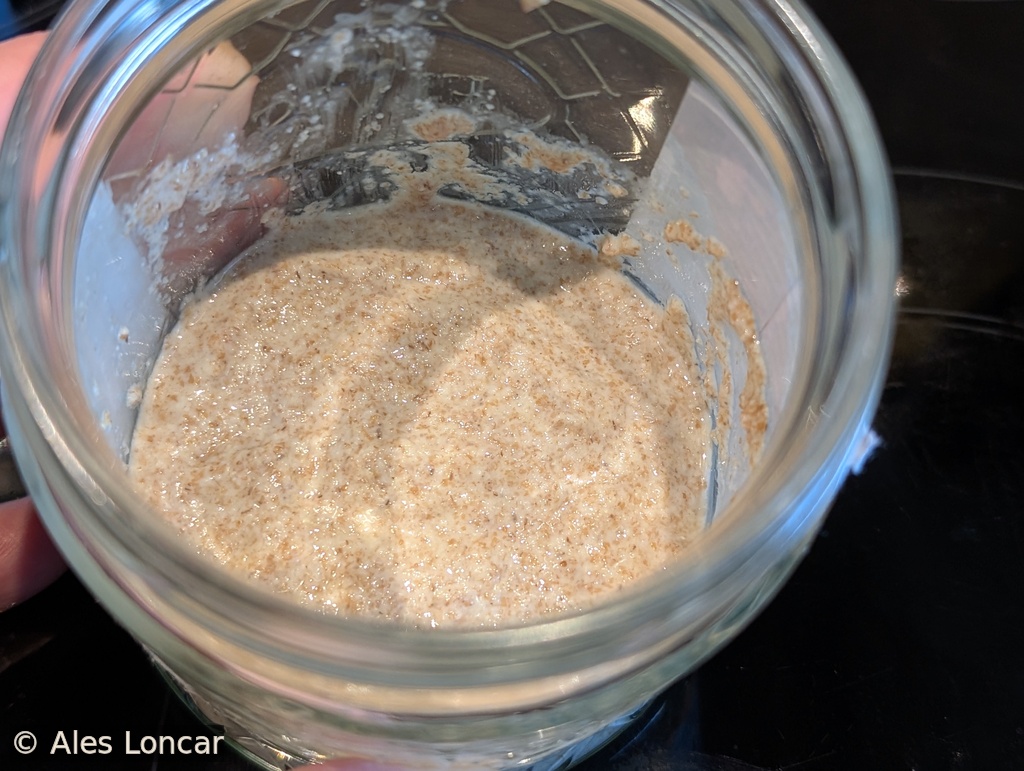
Day 2: The mixture is hydrating well. Keeping it in a warm spot encourages wild yeast activity.
Day 3: Signs of Life Link to heading
Add 30 g flour and 30 g water.
You should begin to see small bubbles forming, a slight rise, and a mild sour aroma.
Stir gently twice during the day.
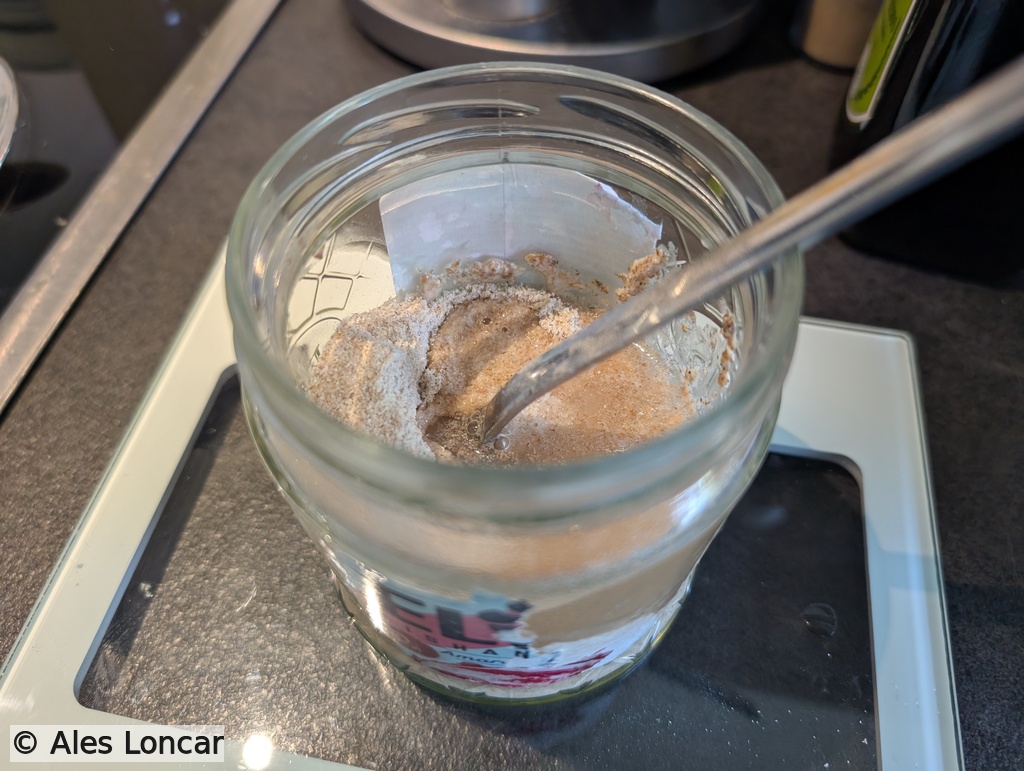
Day 3: Feeding time on the scale. Adding equal parts flour and water to keep the microorganisms thriving.
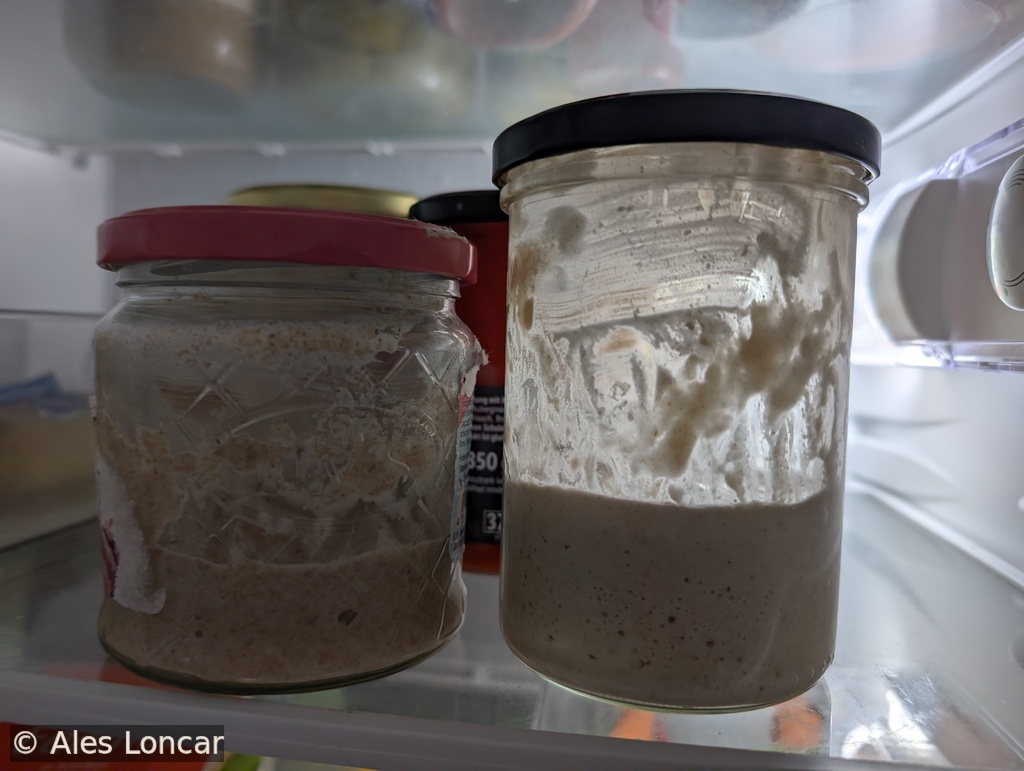
Day 3: Small bubbles and a gentle sour smell are signs that wild yeast and bacteria are waking up. Side-by-side comparison in the fridge: Our new starter in the making, next to my ~10-year-old white flour culture on the right.
Day 4: The First Discard Link to heading
Remove half of the contents from the jar.
The discard is not strong enough for bread yet, but you can still use it in flatbreads or phyllo-style doughs, where it can help with elasticity.
After discarding half, feed the starter with:
- 30 g flour
- 30 g water
Stir twice during the day.
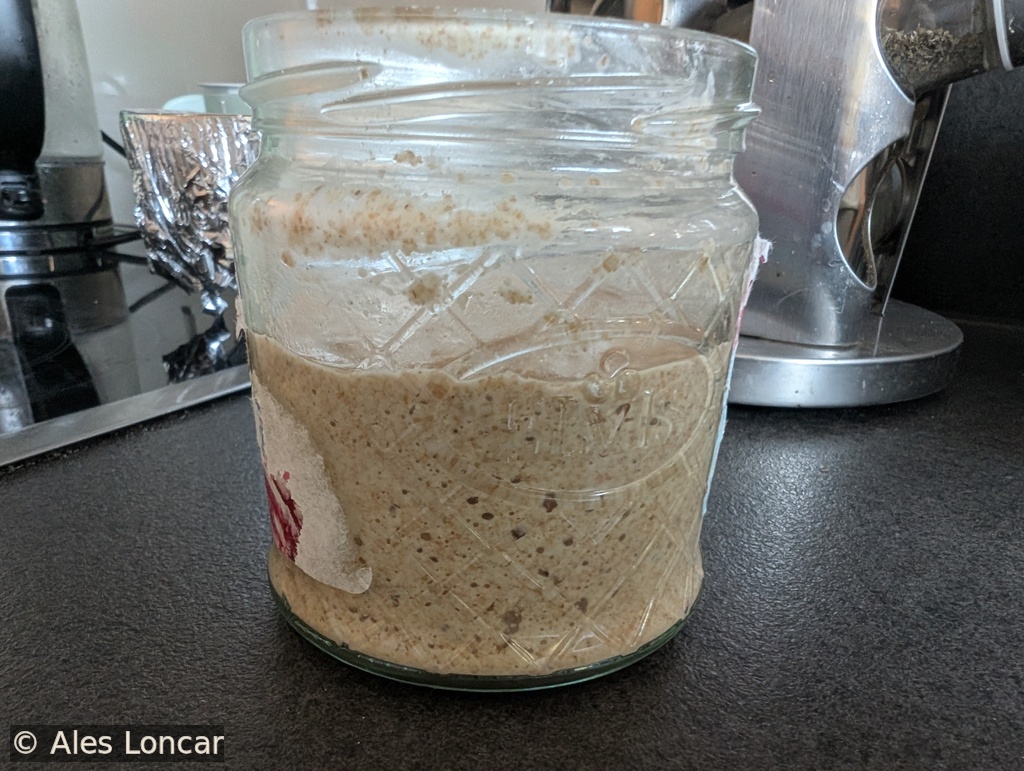
Day 4: Let’s discard the excess starter. The first discard keeps the starter manageable and gives the culture fresh food.
Day 5: Strengthening Link to heading
Add 30 g flour and 30 g water.
Stir twice during the day and observe the rise-and-fall cycle.
By now, the starter should look more active and smell pleasantly fermented.
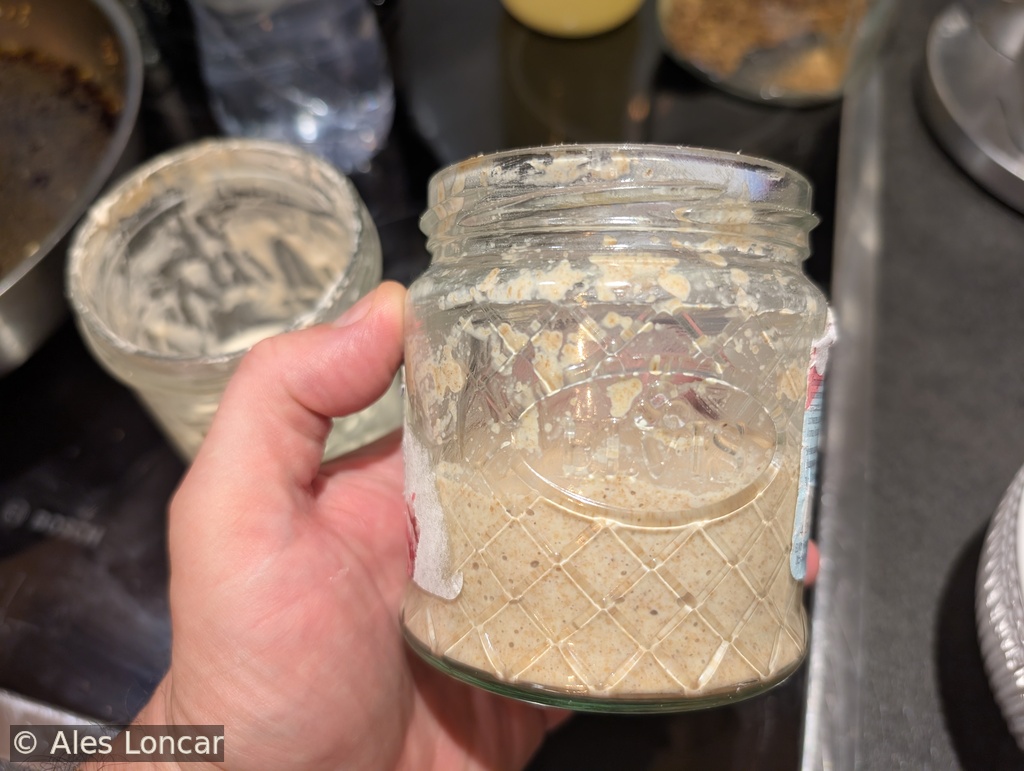
Day 5: Side profile showing the gas pockets and rise inside the jar.
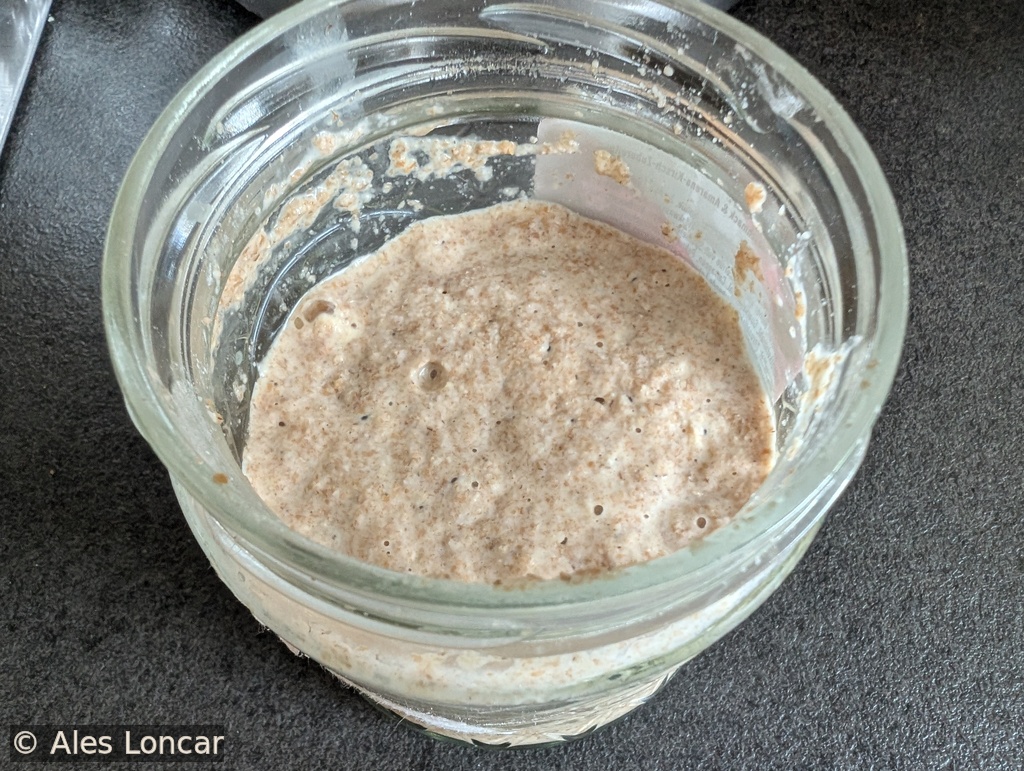
Day 5 Top View: A bubbly surface indicating a healthy, fermenting culture.
Day 6: Ready to Bake Link to heading
Add 30 g flour and 30 g water.
By today, the starter should predictably double in size after feeding and show plenty of carbon dioxide bubbles.
It should smell pleasant, milky, and gently acidic.
If it doubles reliably, it is ready to use for baking.
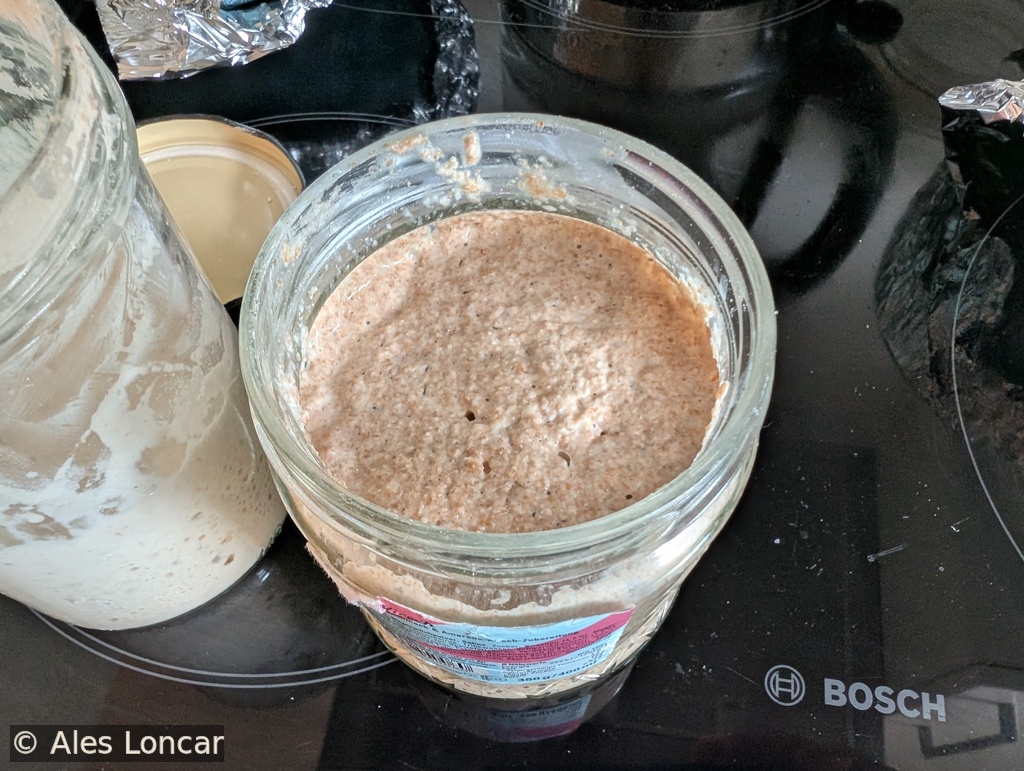
Day 6: Fully mature, active, and domed on top. This starter is ready to bake bread.
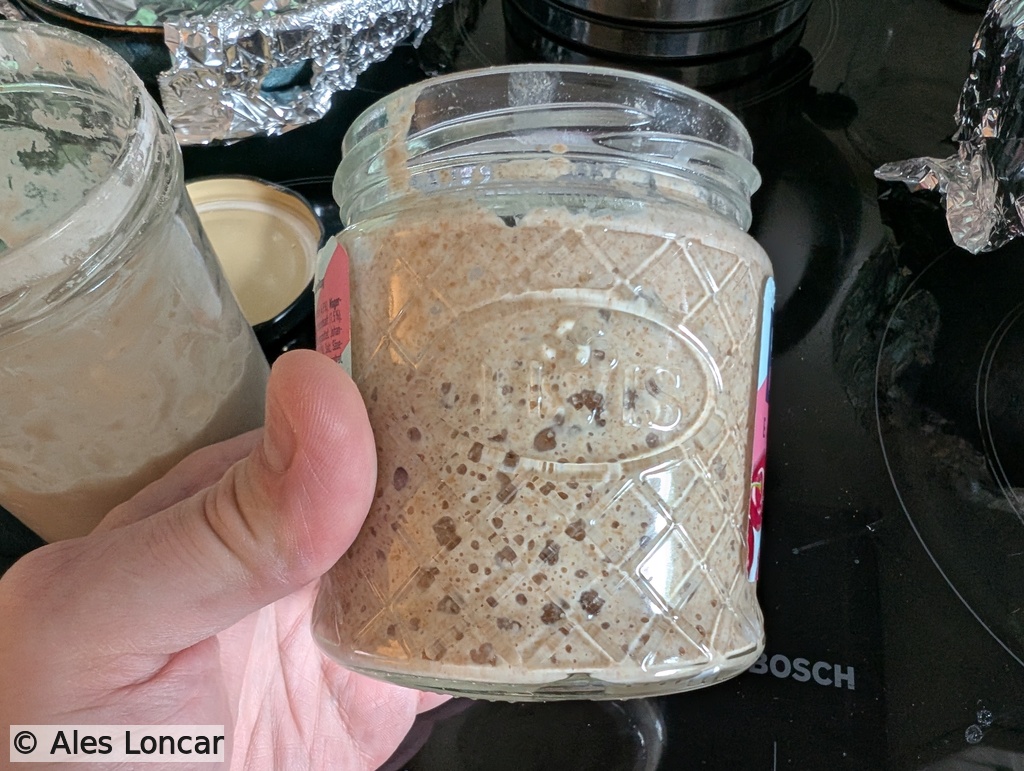
Day 6: Look at that aeration! A strong web of bubbles visible through the glass proves our 6-day summer method was a complete success.
Maintenance and Feeding Going Forward Link to heading
Once established, you can switch to standard bread flours such as Type 500 or Type 850 for routine feedings.
Always feed your starter a few hours before baking to build its strength.
A simple maintenance feeding is:
- 50 g flour
- 40 g water
- 1 small spoon of active starter culture
Mix well and let it rise until active and bubbly.
Fridge Storage Link to heading
If you store the starter in the refrigerator between bakes, feed it at least once a week to keep the wild yeast healthy.
When you want to bake again, take it out of the fridge, feed it, and let it become active at room temperature before using.
Final Thoughts Link to heading
Creating a sourdough starter from scratch is not complicated, but it does require attention.
In warm weather, six days can be enough to make a lively culture. Watch the bubbles, smell the changes, and learn its rhythm.
Once it is active, you have the foundation for many future breads, flatbreads, wraps, and other fermented doughs.